You need no account and no design experience. Nothing here costs anything unless you decide it should: the whole editor, the download, and one invitation page with unlimited guests are free, and there is no watermark on what you make.
One thing worth knowing before you start, because it explains the rest of this page.Your design lives in your browser. The card is drawn on your own machine and the file you download is made there too. That is why it works with a bad connection, why your photos never leave your computer unless you publish a page, and why closing the tab does not lose your work.
Step 1. Pick a design
Start at All templates, or search from the homepage. Filter by occasion down the side, or type what you are having: wedding, 60th birthday,baby shower.
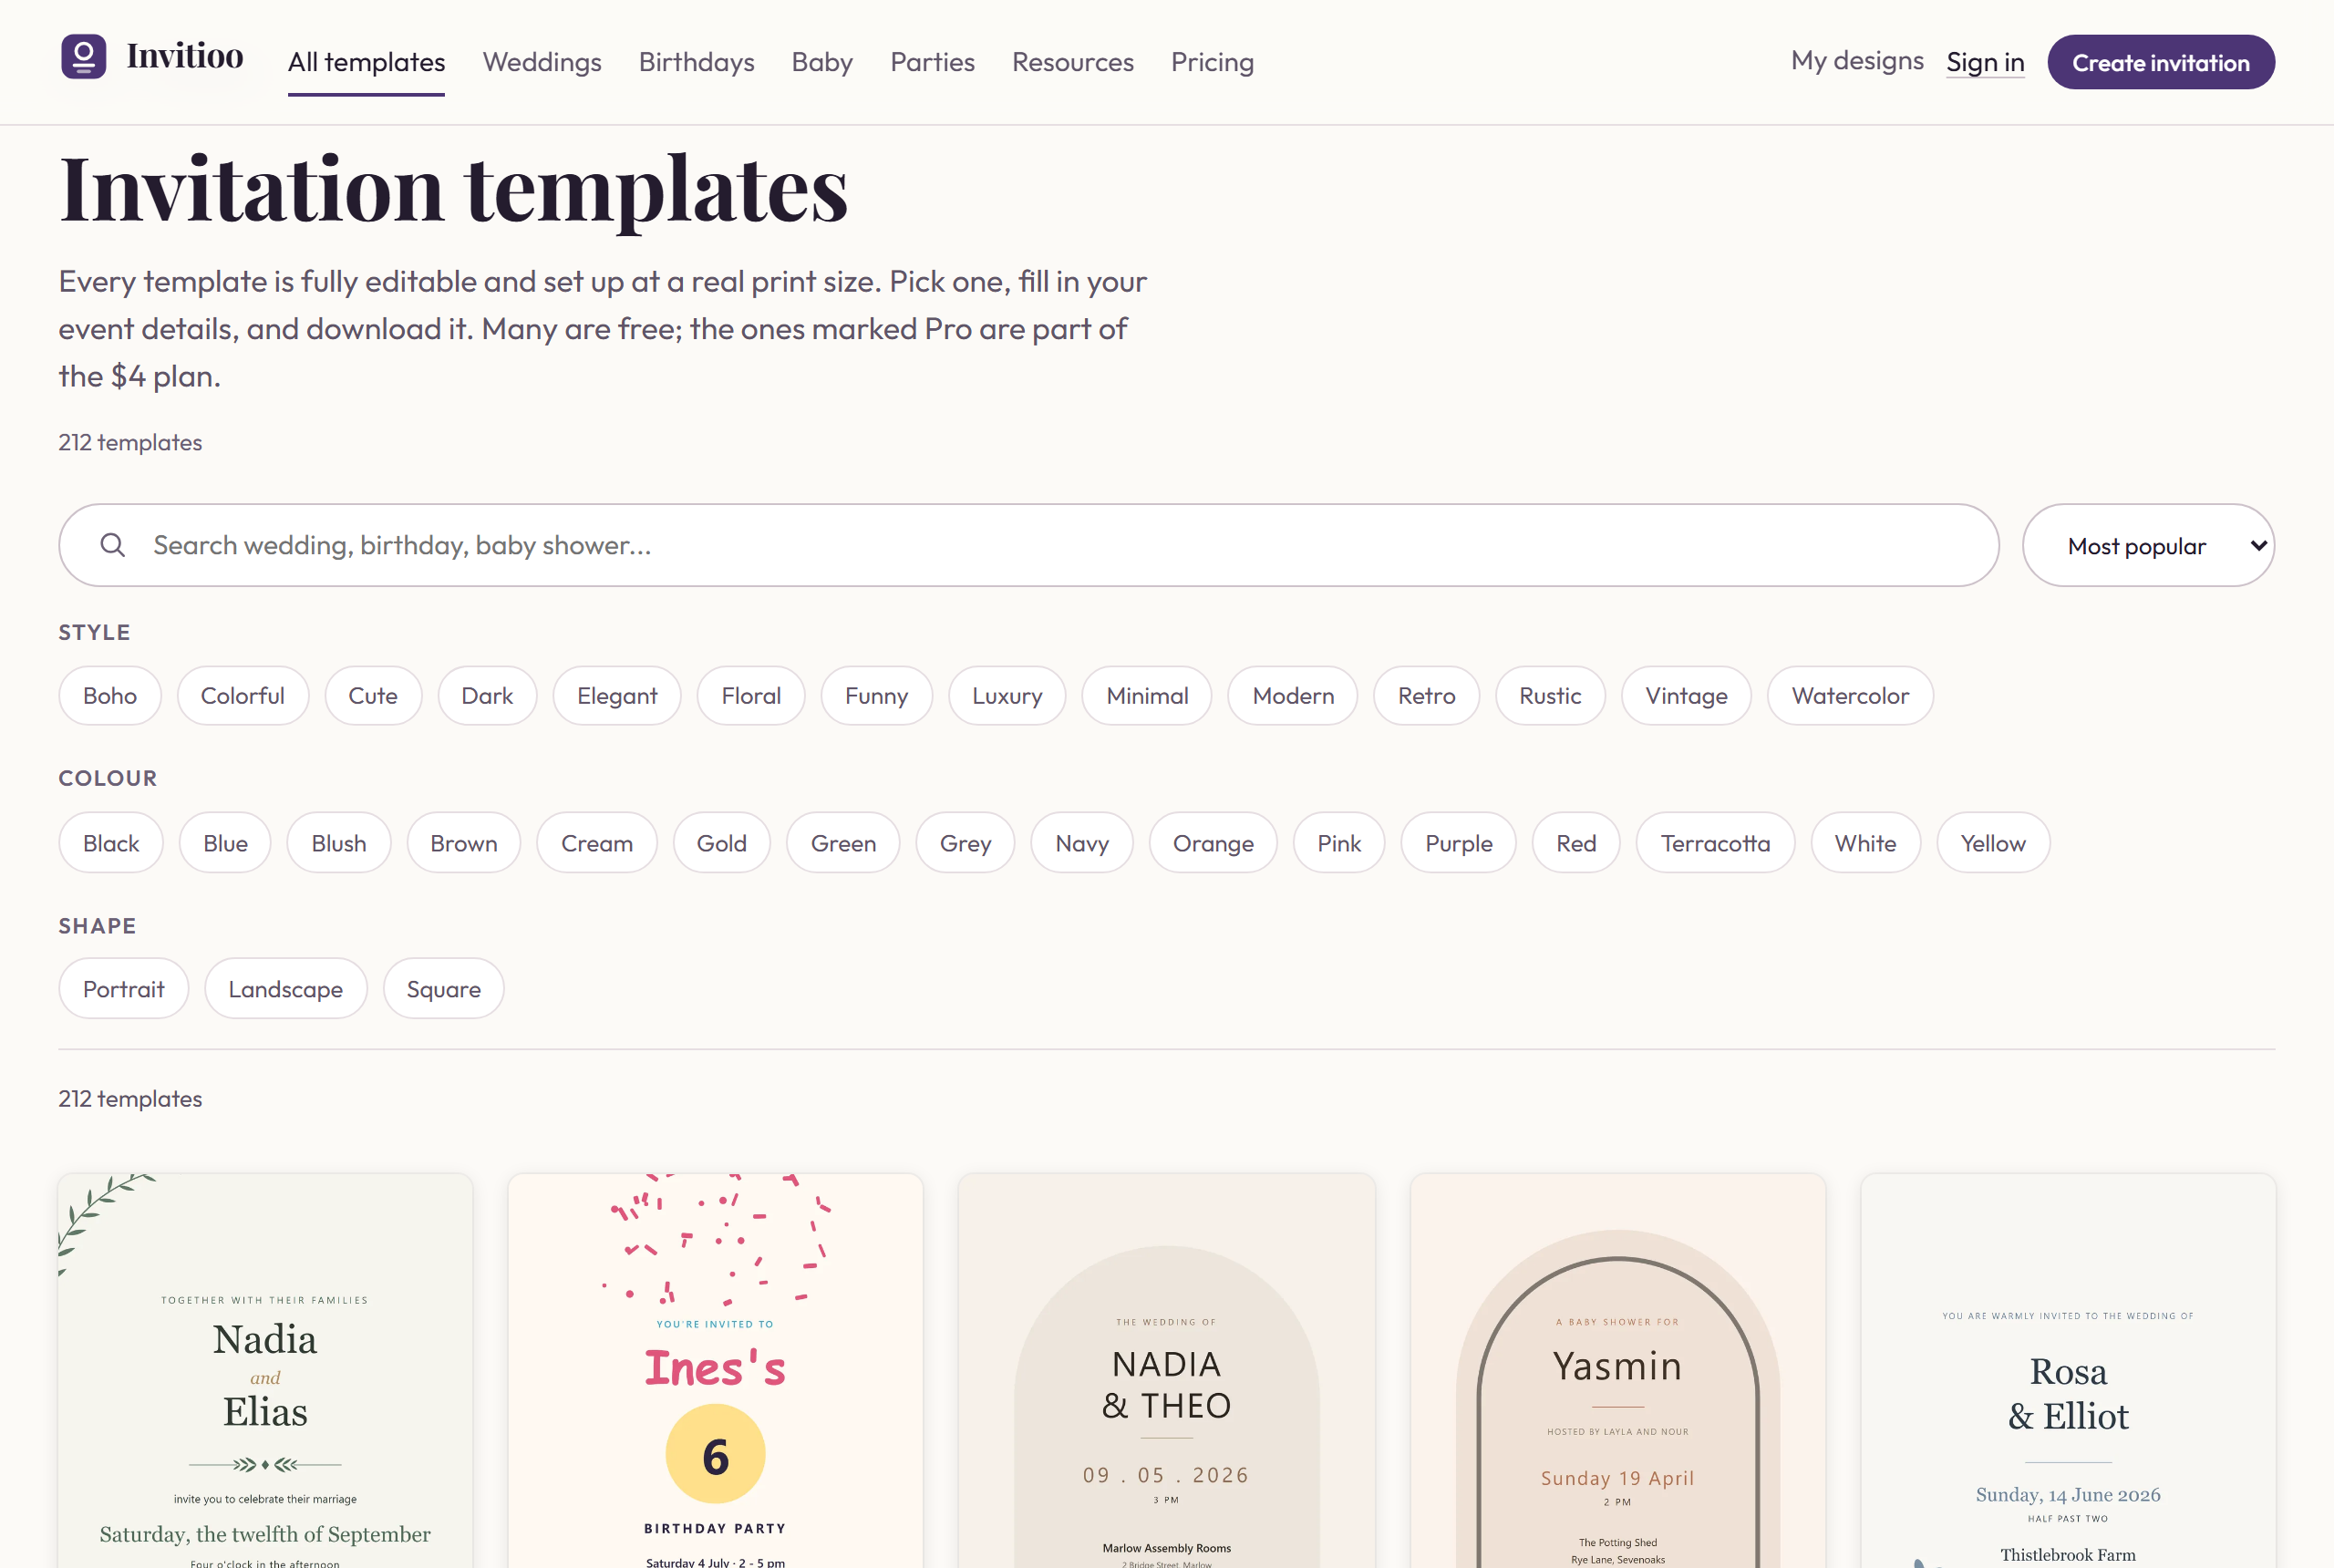
Two things on each card are worth reading. The size, because a 5 by 7 inch card needs a different envelope from a 4 by 6 one, and the Free or Pro mark. Free designs are free to finish and download, with nothing stamped on them. Pro designs open and can be tried, but need a subscription to download.
Click a design to see its own page: what it contains, which fields it will ask you for, the exact colours in it, and which envelope it fits.
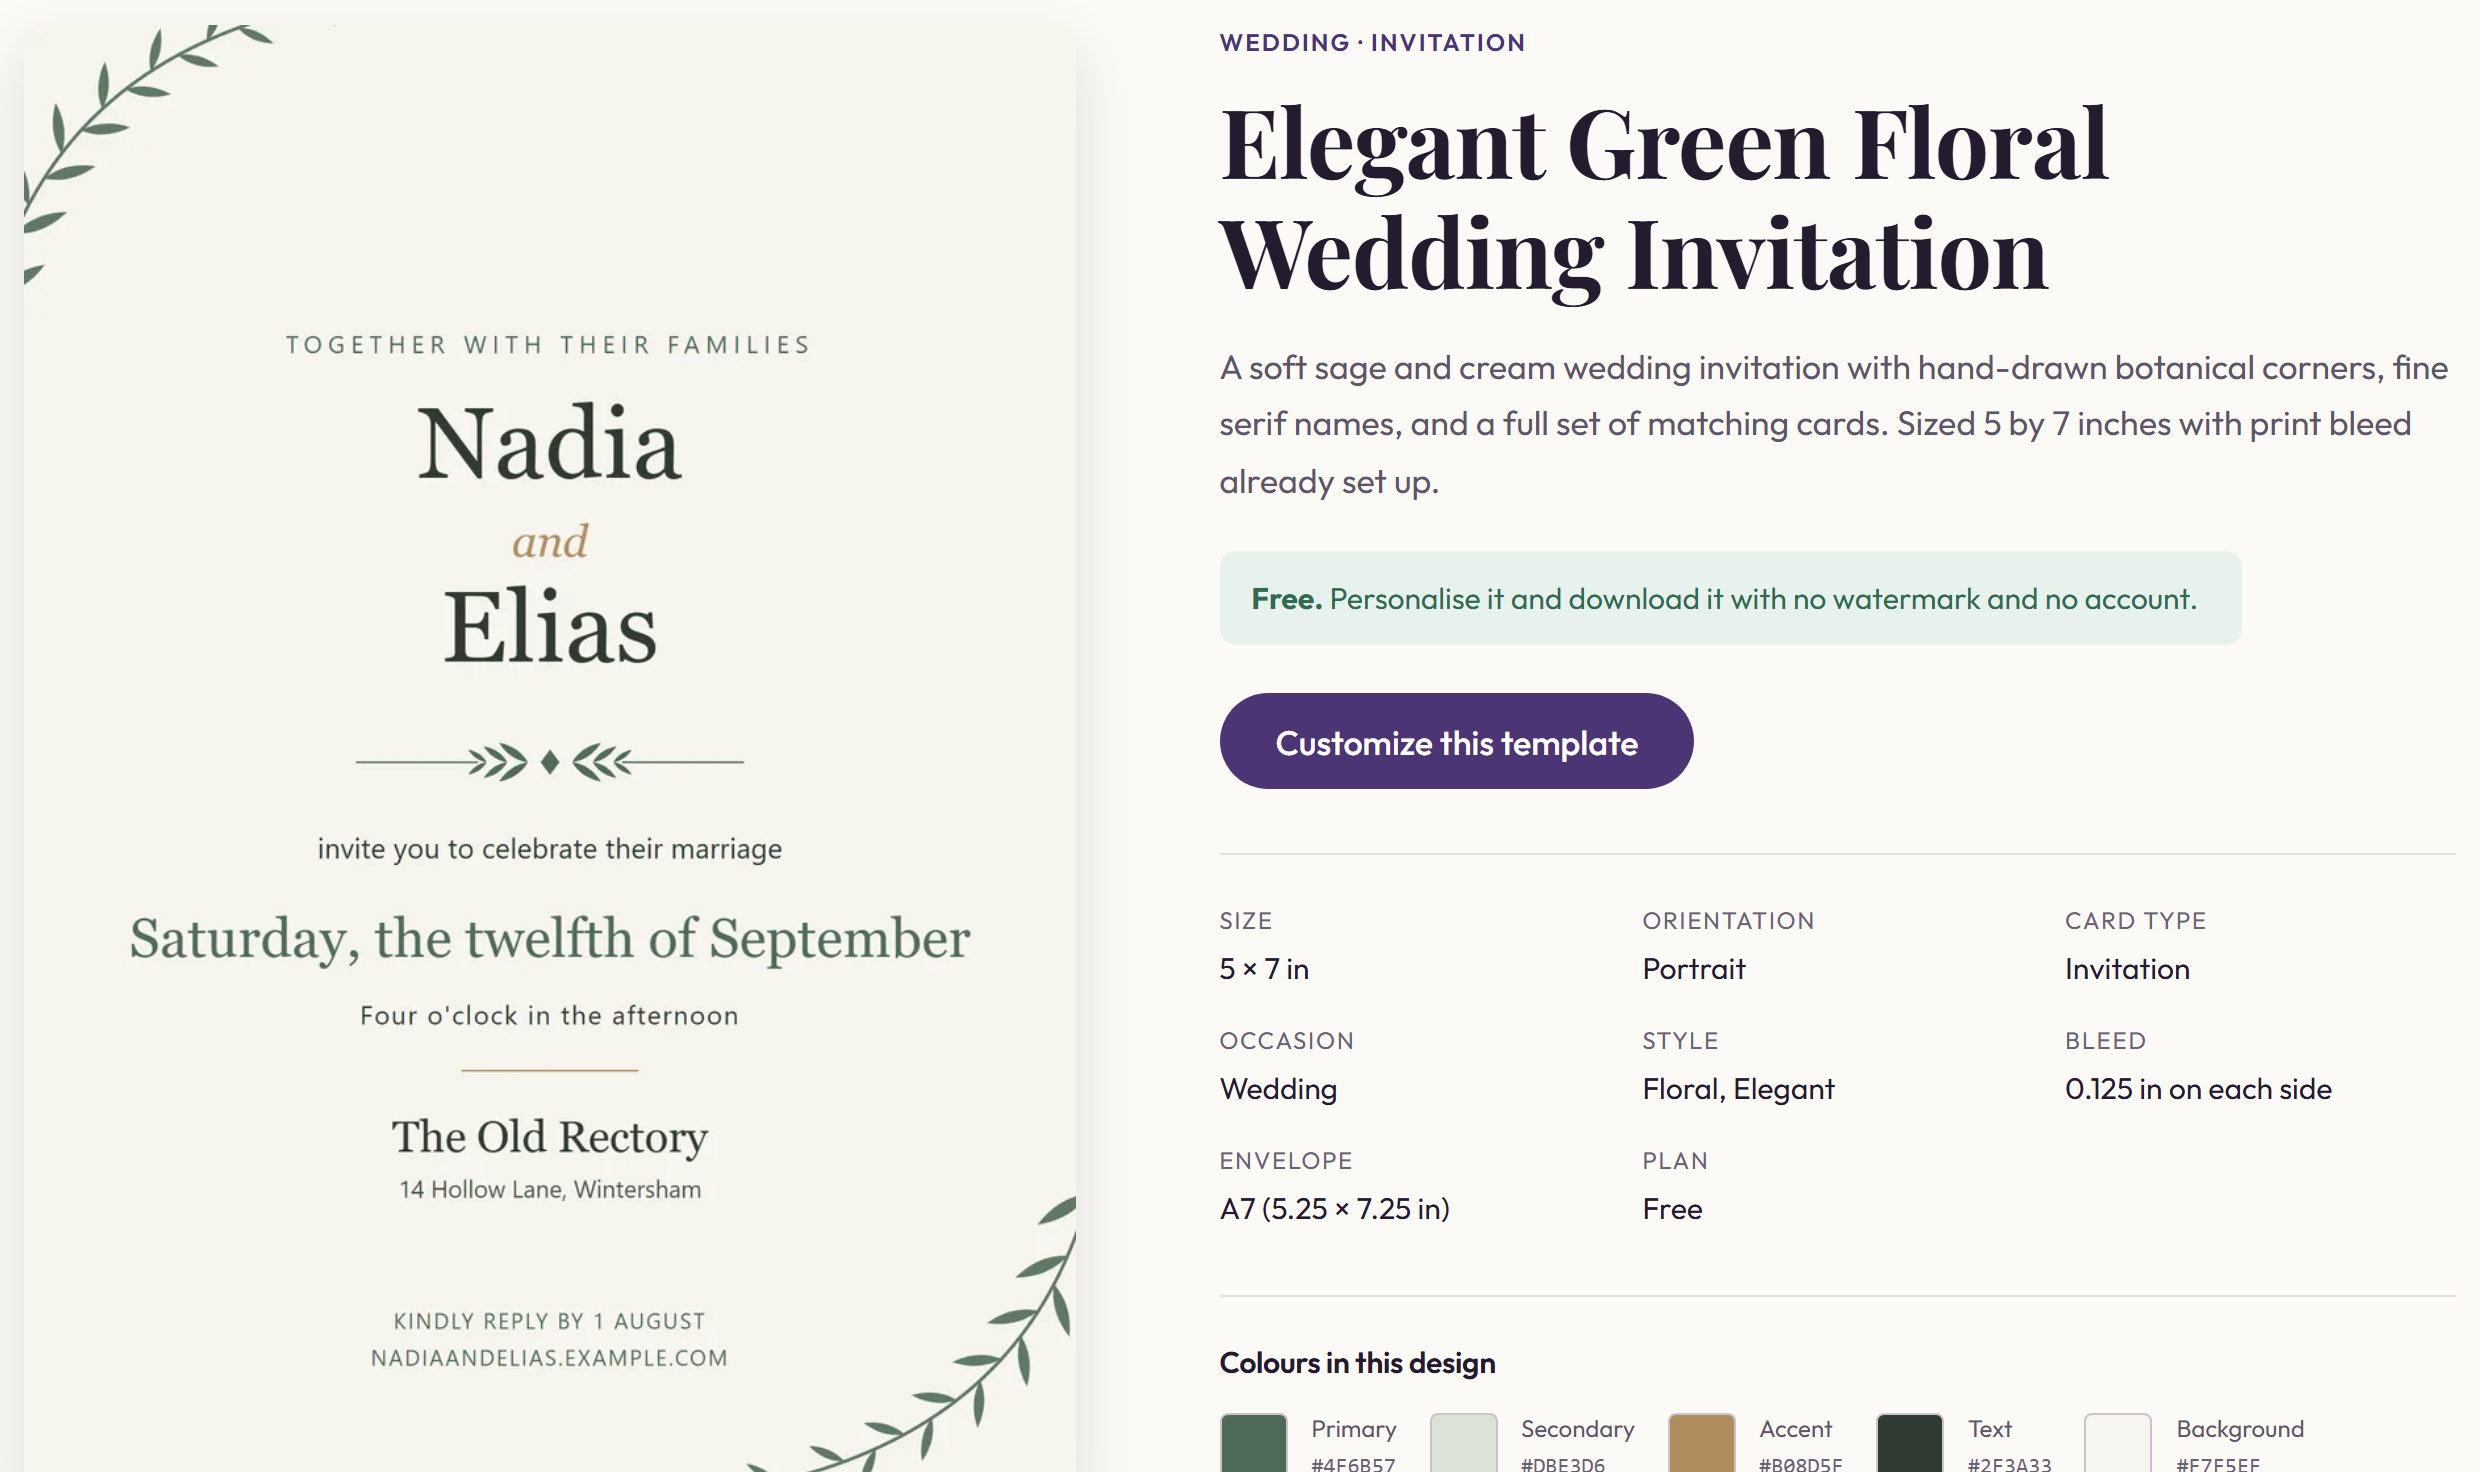
Press Customize this template and the editor opens with that design loaded.
Step 2. Fill in your details
This is the part that makes the rest quick, and it is the one thing this tool does differently from a general design app. You do not edit the card line by line. You fill in your details once, on the left, and every line on the card that mentions them updates as you type.
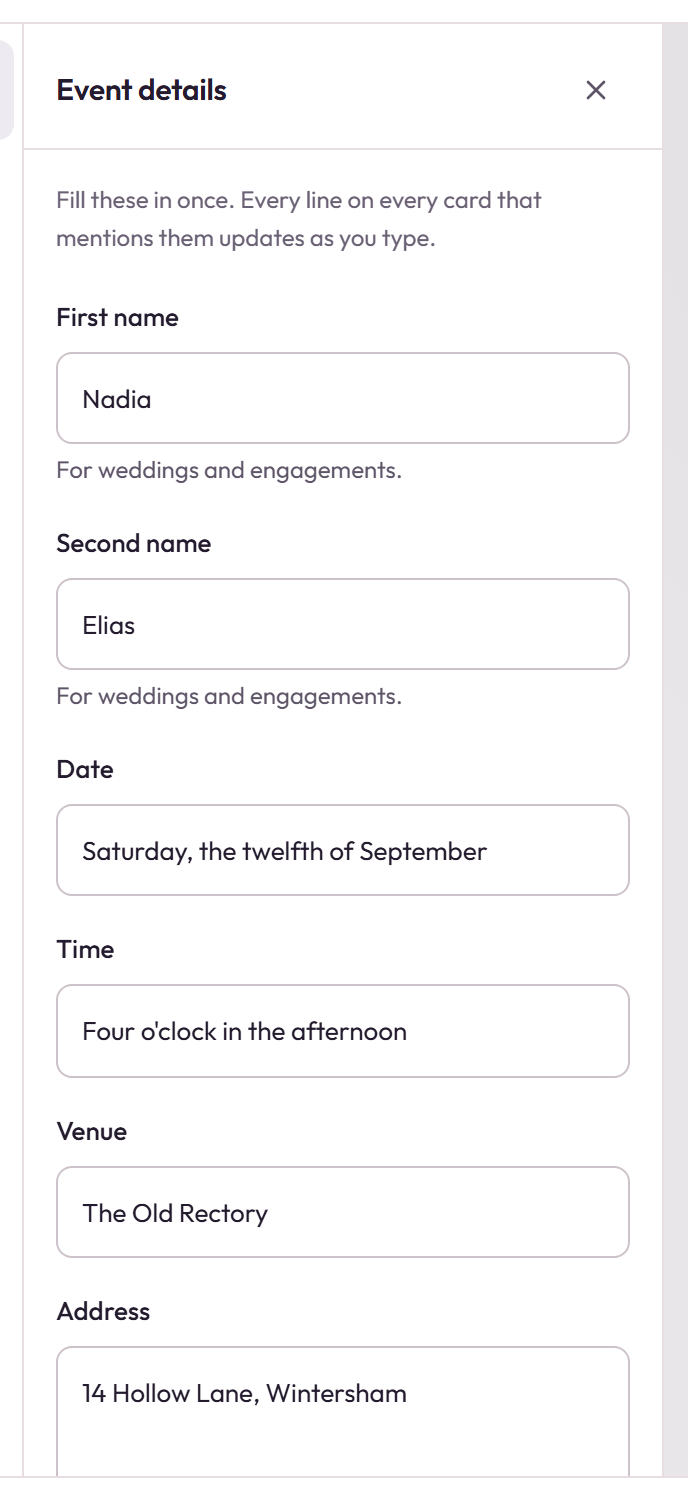
Change the venue here and it changes on the invitation, on the details card, and on the save the date, all at once. There is no hunting for the second place you wrote the address.
Fields you leave blank simply do not appear. If a design has a line for a dress code and your party has not got one, leave it empty and the line goes away rather than printing the wordundefined on your card.
Step 3. Change the wording
Anything on the card can be edited directly. Double-click a line of text to type into it. Click once to select it, and the panel on the right shows what you can change: the font, the size, the spacing, the alignment, and effects like a shadow or an outline.
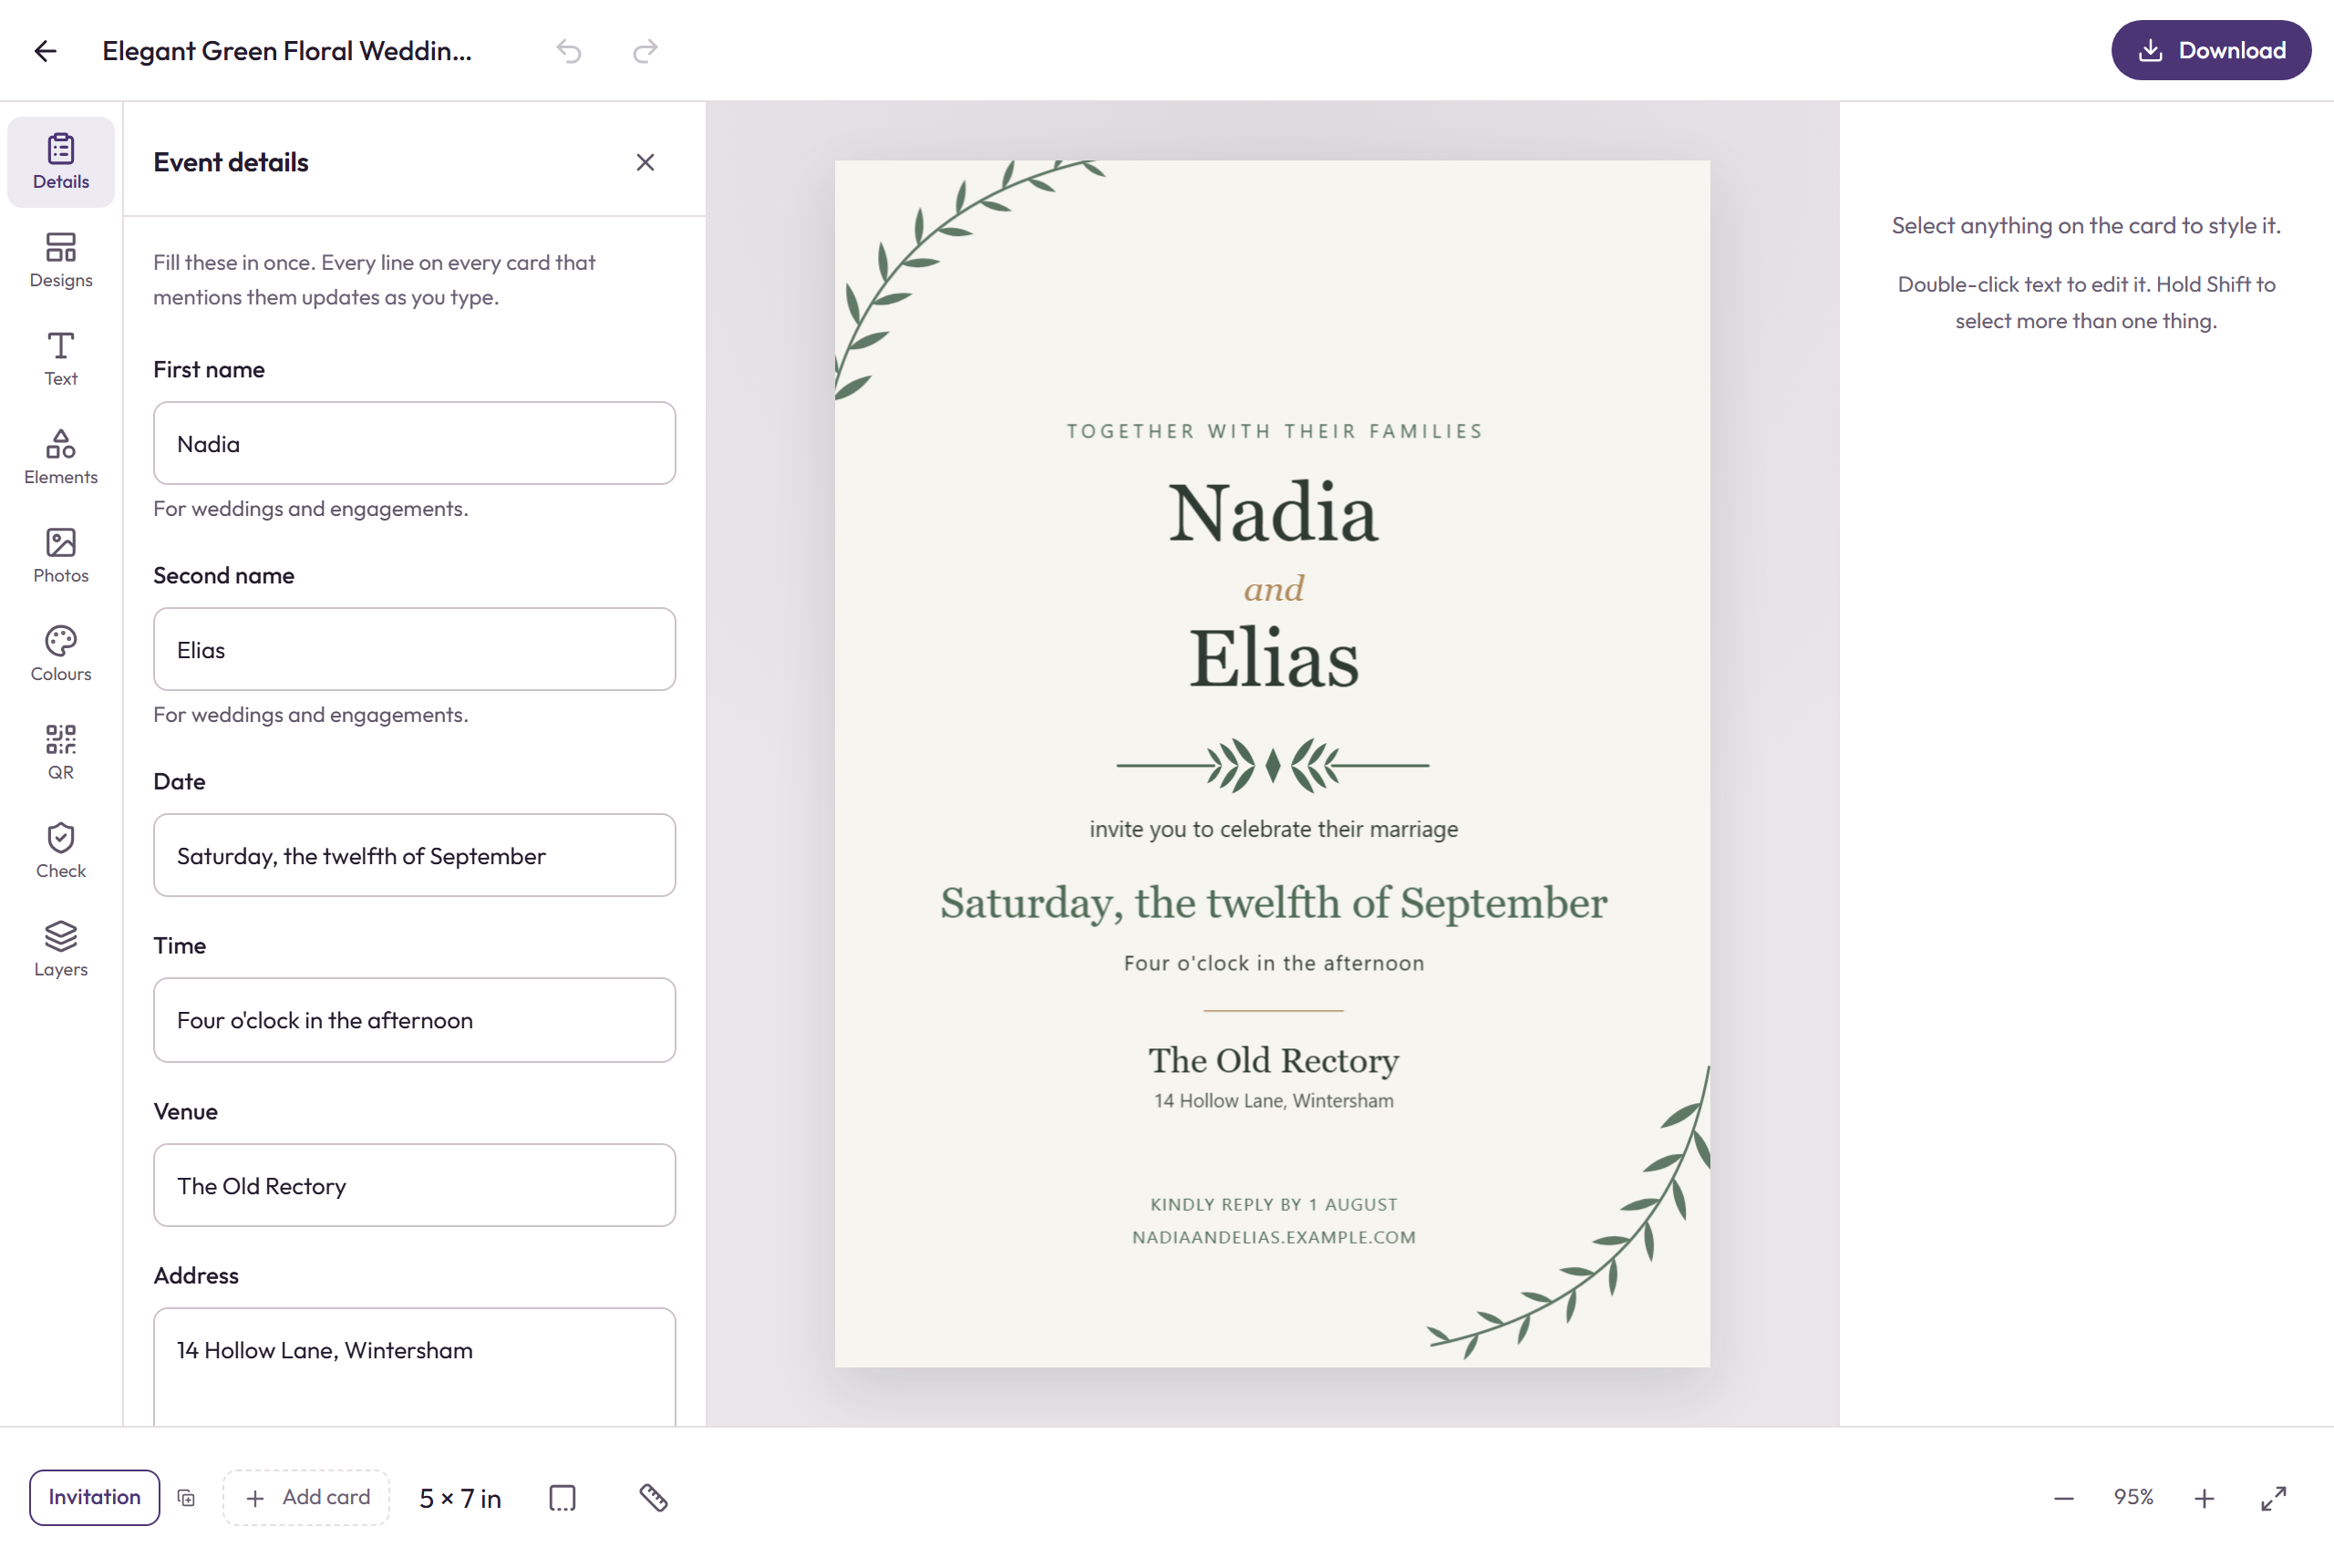
Use the Text tool on the left to add a new line, and Elementsfor shapes, lines, borders and decorations. Layers shows everything on the card as a list, which is the easiest way to grab something small that is behind something else.
Every change can be undone. Ctrl+Z steps back, Ctrl+Shift+Zsteps forward again, and the arrows at the top do the same thing.
Changing the design without losing your work
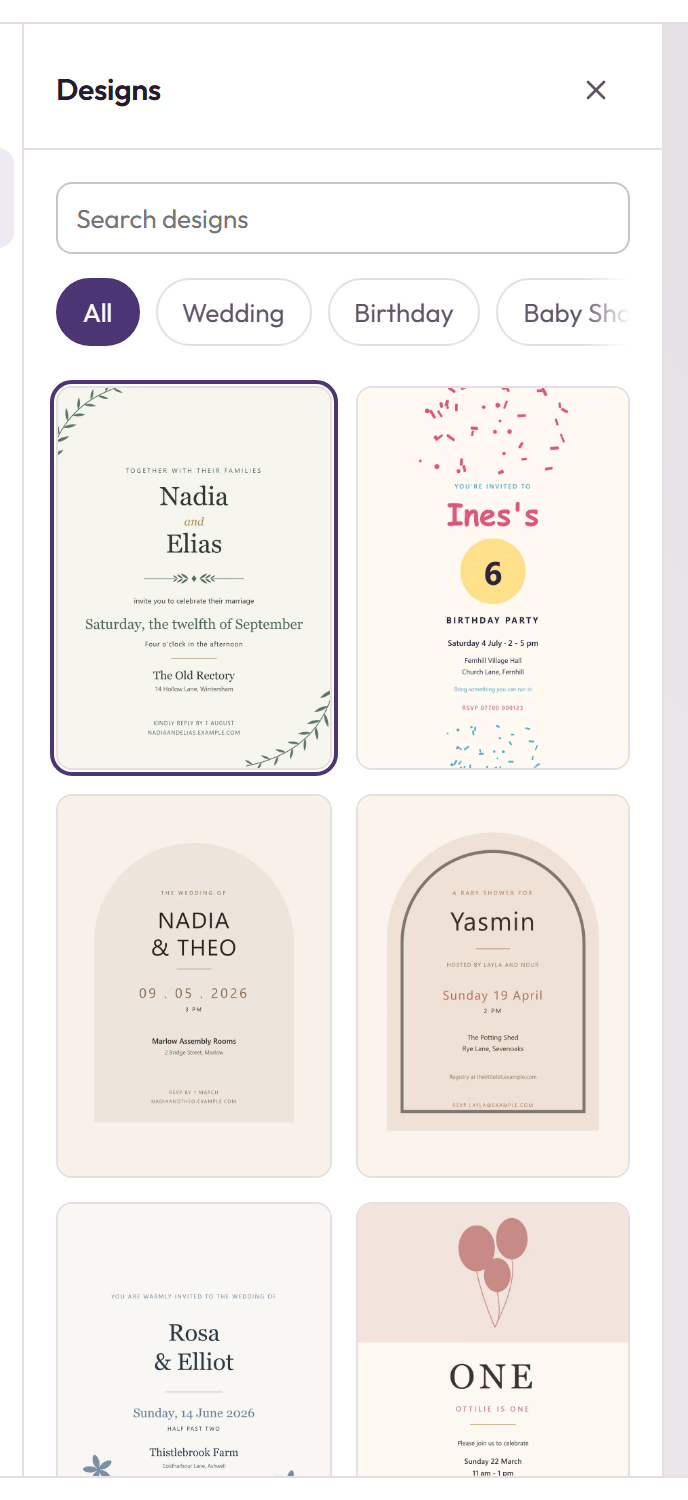
If you decide on a different look halfway through, open Designs and click another one. The layout and artwork change; everything you typed into Event details stays.
Step 4. Colours, fonts and photos
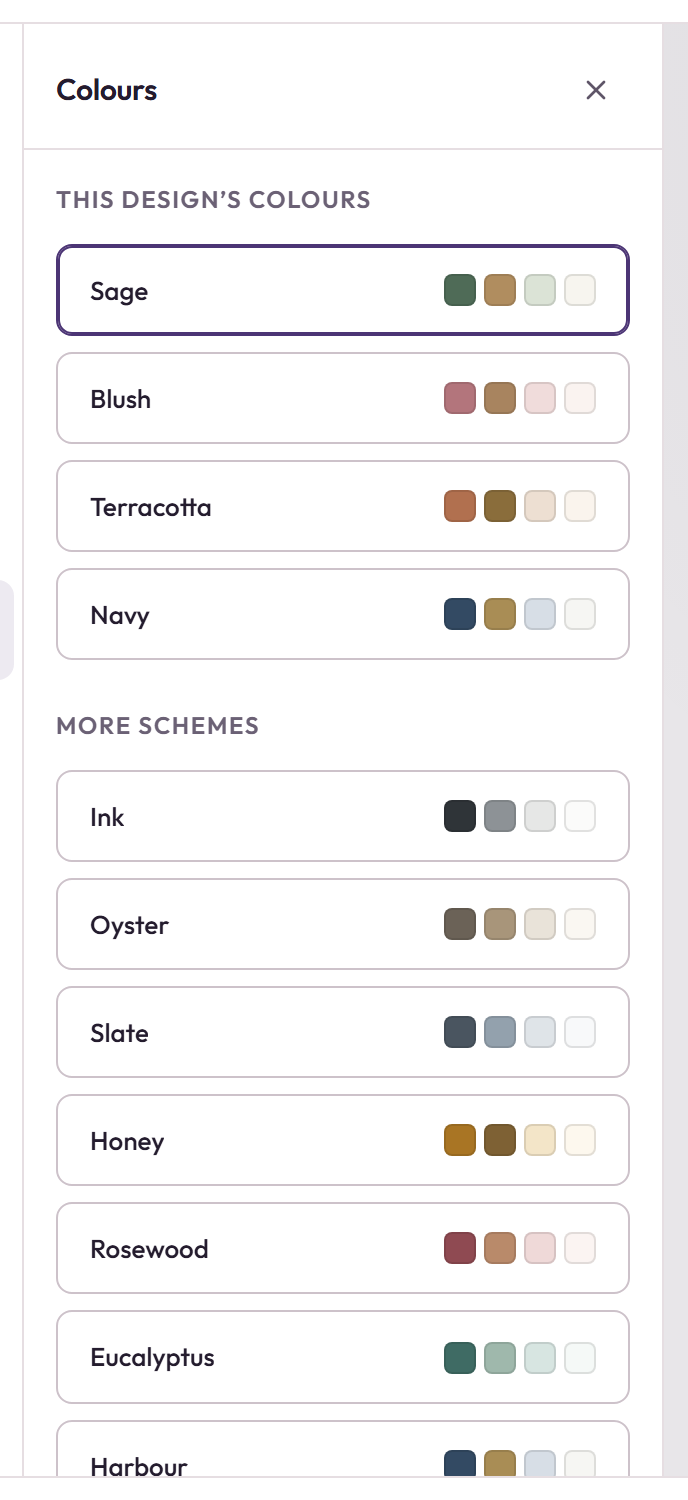
Colours recolours the whole card at once. Each design ships with a few schemes its designer chose, and below those you can set any of the five slots yourself. Change the accent colour and every accent on the card follows, rather than you recolouring nine things individually.
Photos adds your own pictures. Drag one onto the card, or onto a frame or a grid cell to fill it. Once a photo is placed you can crop it, adjust the brightness and contrast, apply a filter, or round its corners.
Your photos are processed on your own machine and are not uploaded anywhere. The only exception is publishing an invitation page, which needs an image to show guests, and that is described in step 7.
Step 5. Run the check
Before you download anything, open Check. It looks for the mistakes that are expensive to find later: a blank you never filled in, text sitting too close to the edge to survive trimming, a photo too low-resolution to print sharply, and colours too close together to read.
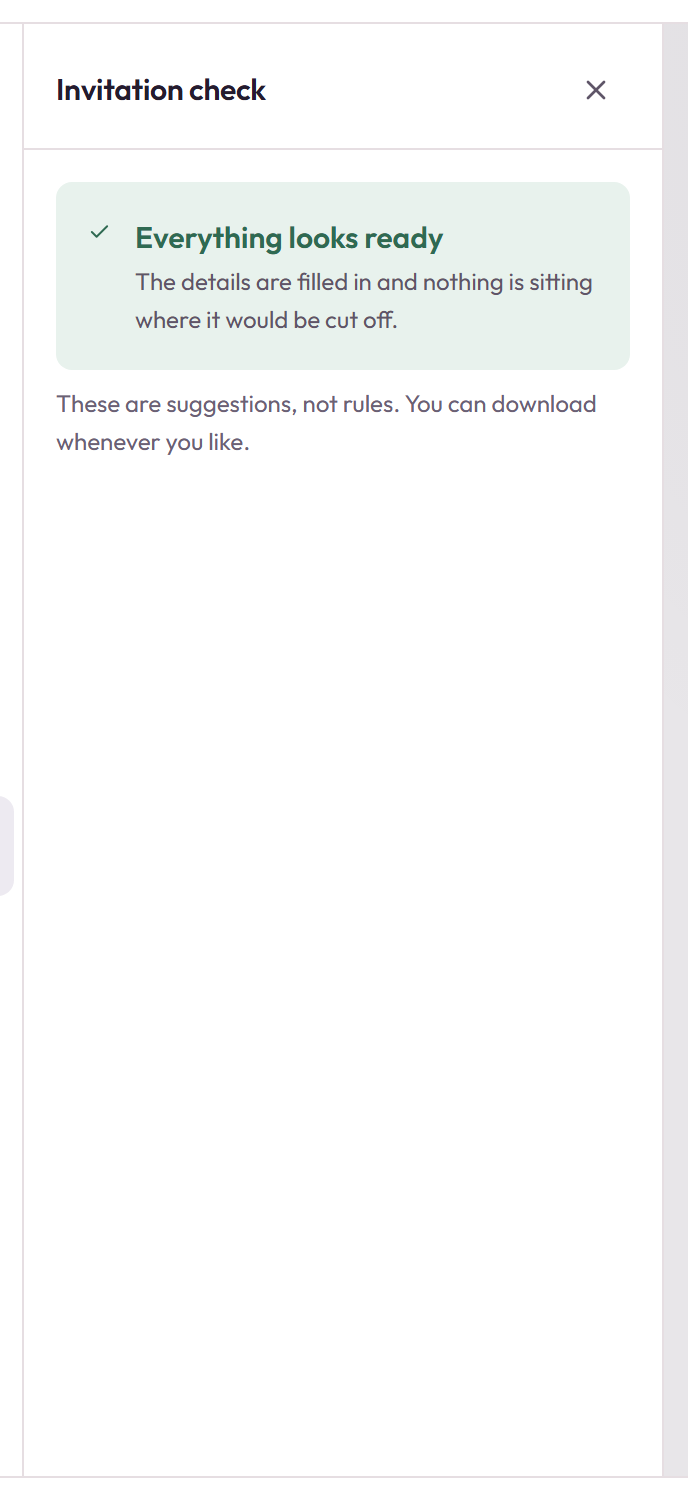
It is advice, not a gate. You can ignore all of it and download anyway. But the safe-area warning in particular is worth taking seriously, because a printer trims a stack of cards together and a millimetre of drift is normal.
Step 6. Print it, or send it
Press Download. The first question is not about file formats, it is about what you are doing with it.
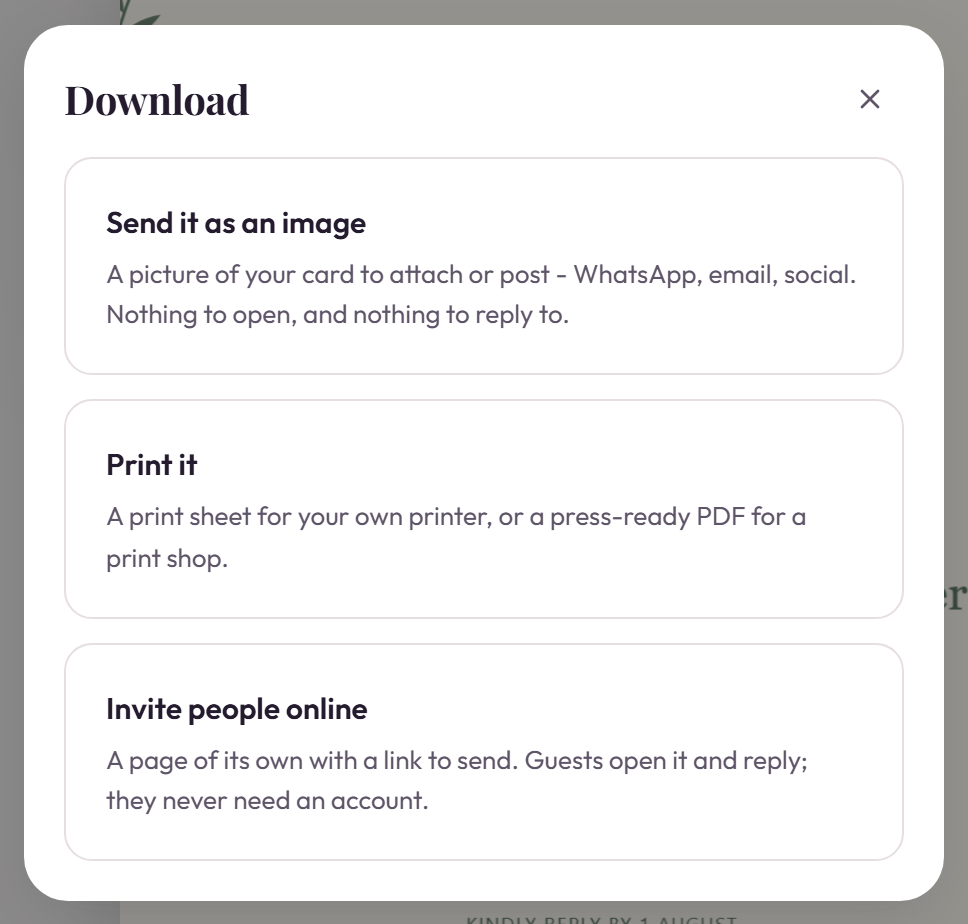
- Send it as an image gives you a PNG or JPG for a message, an email or a post. PNG keeps text crisp; JPG makes a smaller file and suits a card that is mostly photograph.
- Print it asks who is doing the printing, because that changes the file completely.
- Invite people online publishes a page with a link. That is step 7.
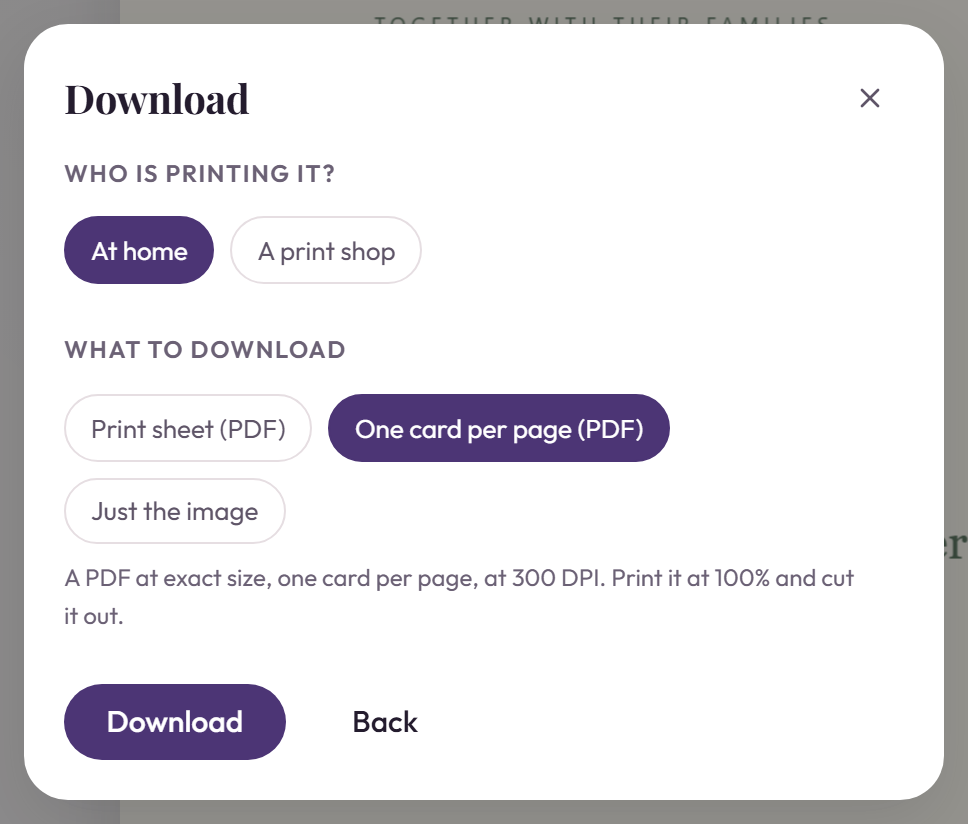
At home gives you a PDF at exact size, one card per page, at 300 dots per inch. Print it at 100 per cent scaling and cut it out. This is free.
One printer setting ruins more invitations than anything else: printers shrink pages to fit their own margins unless you tell them not to. Set scaling to 100% orActual size, never Fit to page.
A print shop gives you a press-ready PDF with bleed and crop marks, which is what a professional printer asks for. There is also a print sheet that lays several cards on one piece of Letter or A4 to save paper. Both of those are part of Pro, at$4 a month, and the editor says so beside the option rather than at the end.
Step 7. Collect replies
Choose Invite people online and your card gets a page of its own with a link you send however you already talk to your guests. They open it, see your invitation, and reply.Guests never need an account, and paste the link into a message and the invitation appears as a preview.
Replies arrive on your events page as they come in: who is coming, how many, and any note they left. You can download the lot as a spreadsheet for a caterer.
This is free, with one invitation open at a time. What Pro adds is organisation for a large list: households, so one invitation goes to a family rather than four separate people; a separate reply link for each household so a reply arrives already attached to the right people; a cap on how many each may bring; importing your list from a spreadsheet; and custom questions on the reply form.
Accounts, saving and Pro
You can do all of the above without signing up. Designs are saved in this browser as you work, and My designs lists them.
Because they are saved in that browser, they do not follow you to your phone, and clearing your browsing data clears them. Sign in and they sync to your account instead, which is the main reason to bother. An account also lets you publish an invitation page and collect replies.
Pro is $4 a month, and it is one plan rather than a ladder. It opens the rest of the template library, the print shop pack, matching card suites, unlimited invitation pages, and the guest list tools. What stays free stays free: the whole editor, dozens of templates, an unmarked download, and a reply page with no limit on guests. Seewhat Pro includes.
If something goes wrong
My design disappeared
Designs are stored in the browser you made them in. Check you are in the same browser and not a private window, then look in My designs. If you were signed in, sign in again and they will come back from your account.
The card printed smaller than it should be
Scaling. Print again with scaling set to 100 per cent or actual size, not fit to page.
The check says my photo is too low resolution
The picture has fewer pixels than printing it at that size needs. Use a larger original, or make the photo smaller on the card. It will look fine on a screen either way; this only matters on paper.
A design will not open
If it is marked Pro, it needs a subscription. Everything without that mark opens on the free plan.
My guests say the link does not work
Check the invitation is published rather than still a draft, on your events page. A draft has no public page on purpose, so an unfinished invitation cannot be opened by somebody you sent the link to early.
Ready to start
Pick a design and fill in your details. It takes about fifteen minutes.
Browse templates